# Lektor的門面,讓Templates來照顧!!
接下來介紹一下Templates。Lektor使用Jinja2的格式產生網頁,若有興趣的話可以參考Jinja2官網。
前一篇有提到model與template的關係,model與template的檔名相同,可以輕易建立起關聯。
# Template暗號
Template中有一些特定的變數要先了解一下:
| 變數名稱 | 說明 |
|---|---|
| this | 現在取得的Record,像是從資料庫中取得的資料,可以用this抓到,拿來做後續的處理 |
| site | 可以獲取其他頁面的資料 |
| alt | 定義網頁語言的值,類型為文字 |
| config | 處理專案的配置資訊 |
# Template基本用法
先來看一下之前用quickstart產生的範例檔案,開啟template/page.html,可以看到以下程式碼:
{% extends "layout.html" %}
{% block title %}{{ this.title }}{% endblock %}
{% block body %}
  <h2>{{ this.title }}</h2>
  {{ this.body }}
{% endblock %}
上面的程式碼,除了熟悉的<h2></h2>標籤之外,其他都是jinja2的語法。在page.html中,包含1個extends及2個block,將於下面繼續說明。
# Extends
在第一行出現的{% extends "layout.html" %},代表這個檔案會參照layout.html的內容。以下是layout.html的內容:
<!doctype html>
<meta charset="utf-8">
<link rel="stylesheet" href="{{ '/static/style.css'|url }}">
<title>{% block title %}Welcome{% endblock %} — LektorTest</title>
<body>
<header>
<h1>LektorTest</h1>
<nav>
<!-- 省略 -->
</nav>
</header>
<div class="page">
{% block body %}{% endblock %}
</div>
<footer>
© Copyright 2019 by Chih-Chieh Chang.
</footer>
</body>
從程式碼中可以看到,<title>及<div class="page">2個標籤中,都有一個{% block %}{% endblock %}的樣式的程式碼,所以當page.html中使用{% extends "layout.html" %},page.html就可以使用layout.html的版面,並設定這2個block裡面的內容。也就是說,當Lektor產生靜態網頁時,在page的這個頁面中,會使用layout.html設定的畫面,並根據page.html設定的block,使頁面中指定的位置出現我們要的資訊,可以想像是layout.html有title這個凹槽,而page.html設定這個凹槽要放的東西。
# Block
在知道page.html使用layout.html的版面後,下面將說明block的用法。
# block title
首先看到page.html第2行:
{% block title %}{{ this.title }}{% endblock %}
這行程式碼就會取代layout.html裡面的{% block title %}Welcome{% endblock %}。
要了解的意義,就要回去看page.ini。
[model]
name = Page
label = {{ this.title }}

[fields.title]
label = Title
type = string

[fields.body]
label = Body
type = markdown
在page.ini設定的資訊中,有包含title及body兩個欄位,正好符合page.html中使用的變數名稱,所以新產生的網頁,<title></title>裡面顯示的內容會變為 - LektorTest,而會是什麼,就會依照他抓到的資訊內容去顯示。
# block body
page.html剩下的程式碼長這樣:
{% block body %}
  <h2>{{ this.title }}</h2>
  {{ this.body }}
{% endblock %}
跟上面提到的一樣,這裡的部分是設定layout.html裡的{% block body %}{% endblock %}凹槽。除了設定內容以外,還有加上了<h2>標籤,多設定了內容顯示的樣式。
由於page.html是預設的頁面樣式,若content中沒有指定model,就會指定預設_model: page。下面用quickstart中,about的頁面來說明:
# About頁面產生邏輯
以下將Lektor顯示about的邏輯簡要說明一遍,當使用Lektor在本機運行lektor serve,連線到127.0.0.1:5000/about,網站會作下列事情:
首先在
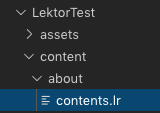
content資料夾中找到about/contents.lr檔案,
about/contents.lr內容如下:title: About this Website --- body: This is a website that was made with the Lektor quickstart. And it does not contain a lot of information.因為檔案中沒有指定model,使用
page.ini及page.html產生網頁。page.html中使用{% extends "layout.html" %},將以layout.html為框架建立網頁。從
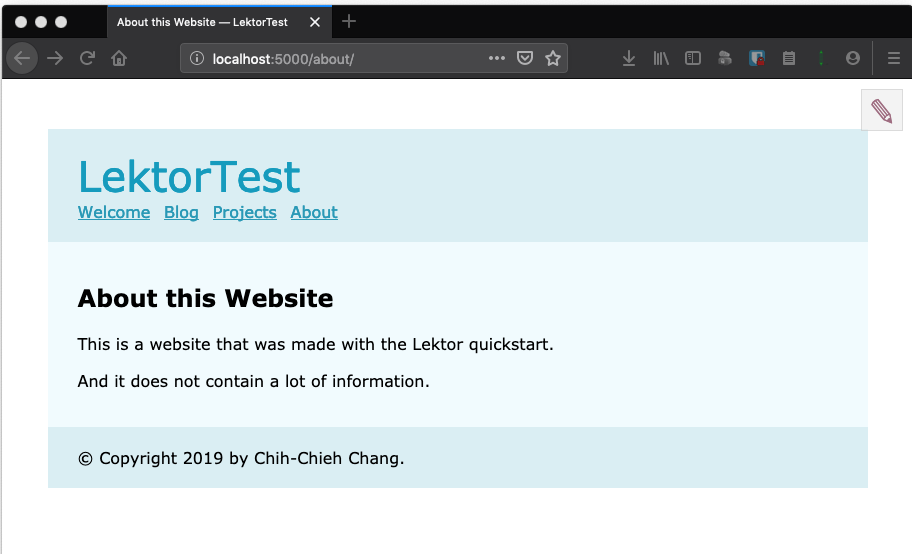
page.html設定block title及block body。title為About this Website。bodyThis is a website that was made with the Lektor quickstart. And it does not contain a lot of information.生成網頁原始碼如下:
<!doctype html> <meta charset="utf-8"> <link rel="stylesheet" href="{{ '/static/style.css'|url }}"> <title>About this Website — LektorTest</title> <body> <header> <h1>LektorTest</h1> <nav> <!-- 省略 --> </nav> </header> <div class="page"> <h2>About this Website</h2> This is a website that was made with the Lektor quickstart. And it does not contain a lot of information. </div> <footer> © Copyright 2019 by Chih-Chieh Chang. </footer> </body>生成畫面如下:

# 團隊系列文
CSScoke - 金魚都能懂的這個網頁畫面怎麼切 - 金魚都能懂了你還怕學不會嗎 King Tzeng - IoT沒那麼難!新手用JavaScript入門做自己的玩具~ Hina Hina - 陣列大亂鬥 阿斬 - Python 程式交易 30 天新手入門 Clarence - LINE bot 好好玩 30 天玩轉 LINE API 塔塔默 - 用Python開發的網頁不能放到Github上?Lektor說可以!! Vita Ora - 好 Js 不學嗎 !? JavaScript 入門中的入門。